# Logstash 匯出 CSV
Logstash 擅長將各式的資料倒入 Elasticsearch 中,此篇記錄一下使用 Logstash 將 CSV 中的資料匯入 elasticsearch 中的過程
📘 Reference
- 官方文件 (opens new window)
- kaggle 數據建模和數據分析平台 (opens new window)
- Mutate filter plugin (opens new window)
- Csv filter plugin (opens new window)
# 事前準備工作
- 先下載 Logstash 本文使用版本 logstash-7.17.1-windows 版本
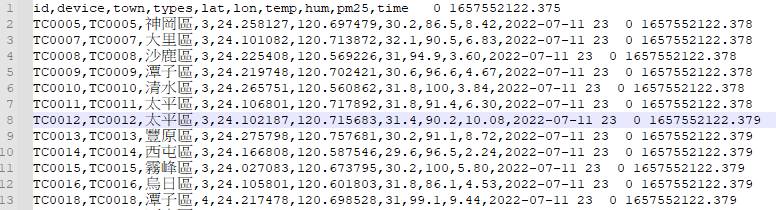
- 找到一份 CSV 格式的資料,以
,分隔資料,並有完整斷行 - 解壓縮後內容如下:
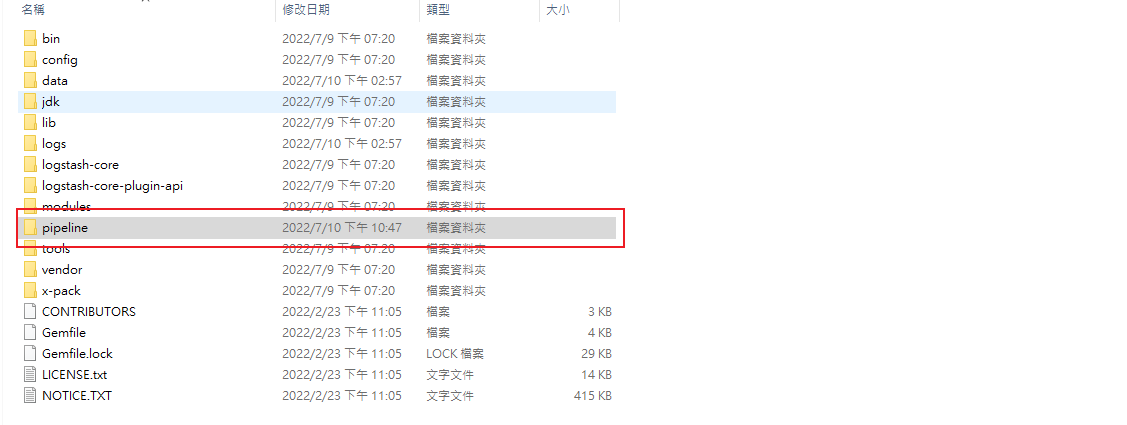
- 在資料夾底下新增一個
pipeline的資料夾之後用來存放 pipeline 設定檔 - 以下為本文測試資料來至 Opendata pm2.5 csv 資料集結構如下:
# Pipeline
準備好之後來編寫第一個 pipeline
# pm25csv.conf
在 pipeline 這個資料夾底下新增一個 pm25csv.conf 文件,文件內容如下:
input {
    file {
        path => "D:/DockerHub/Ref/Data/OpenData/pm25.csv"
        start_position => "beginning"
        sincedb_path=>"D:/DockerHub/Ref/Data/OpenData/pm25.log"
    }
    stdin {}
}
filter {
    csv {
        skip_header => true
        separator => ","
        columns => ["id","device","town","types","lat","lon","temp","hum","pm25","time"]
    }
}
output {
    elasticsearch {
        hosts => ["http://localhost:9200/"]
        index => "pm25-v1"
    }
    stdout {}
}
Logstash Pipline 的三大要素分別是 input; filter; output
Input: 我們指定兩個 資料來源一個是 file ; 另一個是 stdininput stdin用來測試用的,下面會示範怎麼用input file path資料來源路徑input file start_position從甚麼位置開始讀取文件,Logstash預設是結束位置,就是每次都拿最後一筆,這種預設的模式適合用在讀 log 的環 境,因為若是 log 的話每次一筆新的日誌總是會添加在文件最後。而這邊我們導入的是整個 csv 文件所以讓 Logstash 從頭開始讀取設定為beginning當讀取到最末時,Logstash 將自動切換為預設模式End讀取最後一筆input file sincedb_path指定一個 log,這個 log 提供 Logstash探針紀錄最後一筆讀取資料的偏移量,若不指定會自動產生,若不想紀錄請設為null,為了方便管理大多時候建議還是紀錄一下
filter: 這邊使用Csv filter plugin來做資料處理,文件請見置頂 Referencefilter csv skip_header指定跳過標頭filter csv separator設定為","以逗號標示資料間隔filter csv columns每個欄位資料如何解析進 Elasticsearch
output: 主要輸出資料的目的地 Stdout and Elasticsearch,使用Elasticsearch output plugin,還有許多不同的 plugin 可以輸出資料到其他的載體output elasticsearch hosts預計輸出目標的 elasticsearch hostsoutput elasticsearch index預計輸出到哪個 index 下output stdout用來測試用的,下面會示範怎麼用
⚠️ 這裡很重要 如果在 windows 環境下 path => "D:/DockerHub/Ref/Data/OpenData/pm25.csv" 路徑的正反斜線請注意
=> 這是 windows 輸出的路徑 D:\DockerHub\Ref\Data\OpenData\pm25.csv (這是錯的)
=> 這是 logstash 中約定的路徑 D:/DockerHub/Ref/Data/OpenData/pm25.csv (這是對的)
=> 下面那個才可以成功運作
# 匯入資料
# 實用指令
相關的指令集都在
bin裡面可以直接呼叫,檢視 Logstash 中的 plugin.\bin\logstash-plugin listlogstash-codec-avro logstash-codec-cef logstash-codec-collectd logstash-codec-dots logstash-codec-edn logstash-codec-edn_lines logstash-codec-es_bulk logstash-codec-fluent ...下略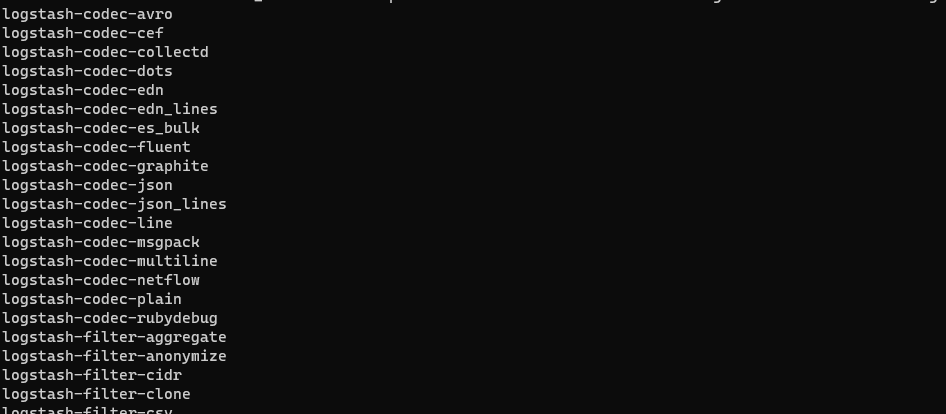
確定使用到 plugin 都已經在列表裡面,如下
- logstash-input-stdin
- logstash-input-file
- logstash-filter-csv
- logstash-output-elasticsearch
- logstash-output-stdout 如果有缺,到官方去下載相對應版本的 plugin,但基本上應該都會有
# 啟動 Logstash 匯入資料
使用指令啟動 Logstash,-f 後面指定編寫好的 pipeline config (還有一個方法是用 pipeline.yml 中,使用方法預計也會有一篇筆記)
.\bin\logstash -f .\pipeline\pm25csv.conf
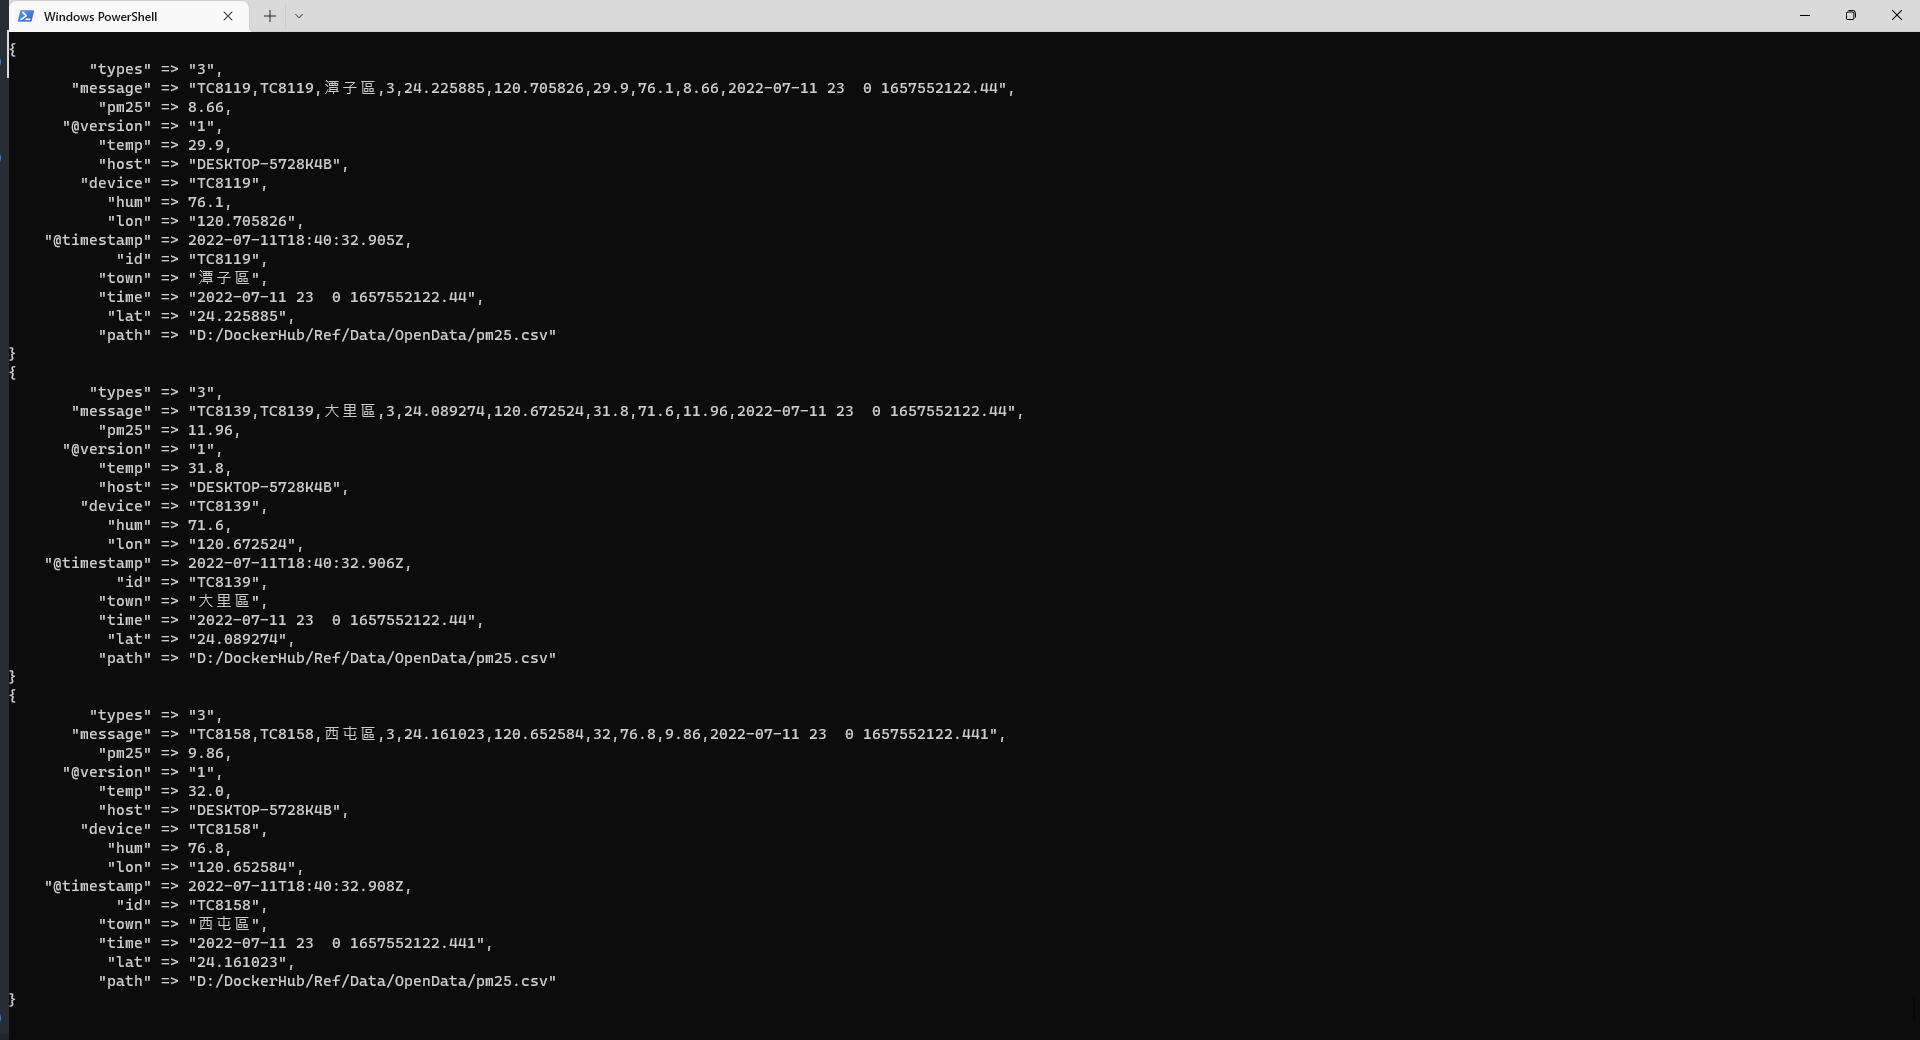
若是啟動成功應該會看到資料一筆一筆的顯示在 terminal 上面,那是因為 pipeline output stdout 這個就是將輸出一併顯示在 terminal 上
# Kibana 查看結果
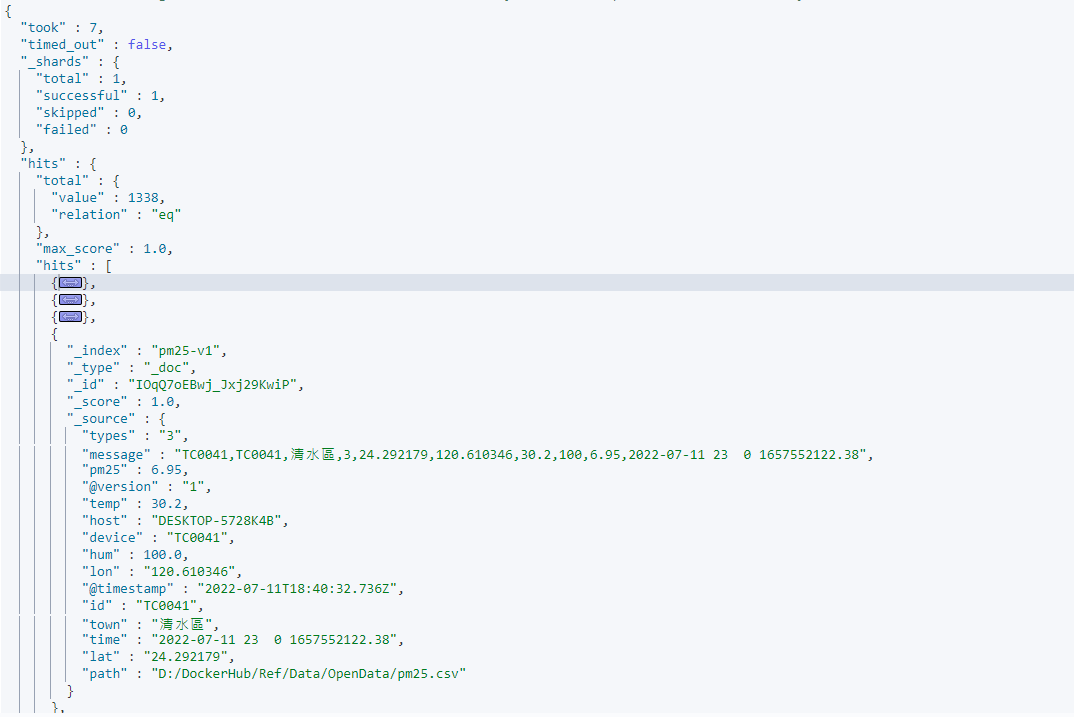
使用 GET Index search 查看
GET pm25-v1/_search
可以看到 pm25-v1 這個 index 中已經有 1338 筆資料
# Mutate filter plugin
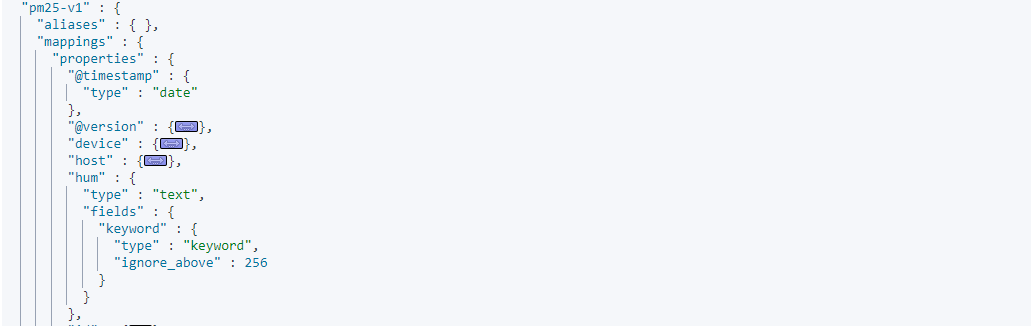
雖然資料已經匯入成功了,但仔細觀察的話會發現有些問題,用 mapping 指定來查看 index mapping,會發現 "temp","hum","pm25" 這幾個欄位是 text ,在一般的應用我們更多時候希望這幾個欄位是以數值方式去對應,所以我們要修改一下 pipeline
對應的方法其實還有一種是一開始就先設定好 index 與 index mapping,這樣使用 Logstash 時只要將資料導入即可,不過這邊嘗試一下不用事先去建立 mapping 的方法,我們使用 mutate plugin 來處理,詳細文件見置頂( mutate 操作彈性滿大的)
mutate plugin 提供了幾種資料型態對應 integer;integer_eu;float;float_eu;string;boolean,只要在 filter 中引入 mutate plugin
# 引入 mutate
filter mutate convert 欄位 => 指定型別,就可以將數值轉型,最後設定檔如下
    input {
        file {
            path => "D:/DockerHub/Ref/Data/OpenData/pm25.csv"
            start_position => "beginning"
            sincedb_path=>"D:/DockerHub/Ref/Data/OpenData/pm25.log"
        }
        stdin {}
    }
    filter {
        csv {
            skip_header => true
            separator => ","
            columns => ["id","device","town","types","lat","lon","temp","hum","pm25","time"]
        }
        mutate {
            convert => {
                "temp" => "float"
                "hum" => "float"
                "pm25" => "float"
            }
        }
    }
    output {
        elasticsearch {
            hosts => ["http://localhost:9200/"]
            index => "pm25-v1"
        }
        stdout {}
    }
# 最終成果
一樣把 mapping 提取出來檢視
GET pm25-v1/_mapping/field/hum,temp,pm25
可以看到 hum,temp,pm25 這三個 field 都已經是 "type" : "float"
{
  "pm25-v1" : {
      "mappings" : {
          "hum" : {
              "full_name" : "hum",
              "mapping" : {
                  "hum" : {
                      "type" : "float"
                  }
              }
          },
          "temp" : {
              "full_name" : "temp",
              "mapping" : {
                  "temp" : {
                      "type" : "float"
                  }
              }
          },
          "pm25" : {
              "full_name" : "pm25",
              "mapping" : {
                  "pm25" : {
                      "type" : "float"
                  }
              }
          }
      }
  }
}
# 補充
# Stdin
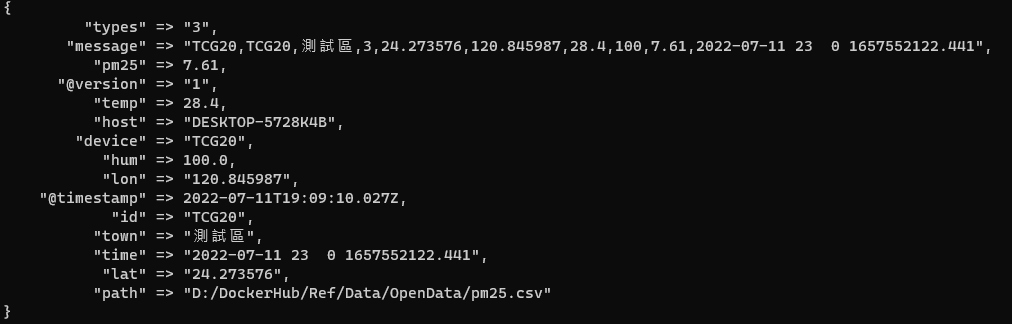
基本上這個也可以不用加,不過加了可以用來偵錯,這個可以讓 terminal 接收輸入,例如輸入 Hello world,就會插入一筆 Hello world 資料到指定的 index 中

# CSV 新資料
如果往 CSV 裡面新增資料的話,探針會繼續移動並將資料自動推送到 elasticsearch 中,增加一筆測試
# 重新載入
若要重新載入要將指針歸零,或是把 .log 直接刪除